Charge
Simple USB charger:

- First plug the battery in the charger. The light on the charger will then light.
- Then plug the charger in USB outlets (preferably mobile charger or battery bank)
- The light goes out when it is fully charged after 1-2 hours.
Preparation
- Mount the battery under the fastener on the underside so that it is placed as much as possible in the middle.
- Turn on the transmitter (hand control or similar)
- Connect the battery on the white plug under the drone
- Wait three quick beeps right after another before the drone is ready
- Place the drone with "nose" same way as yourself (see illustration further down)
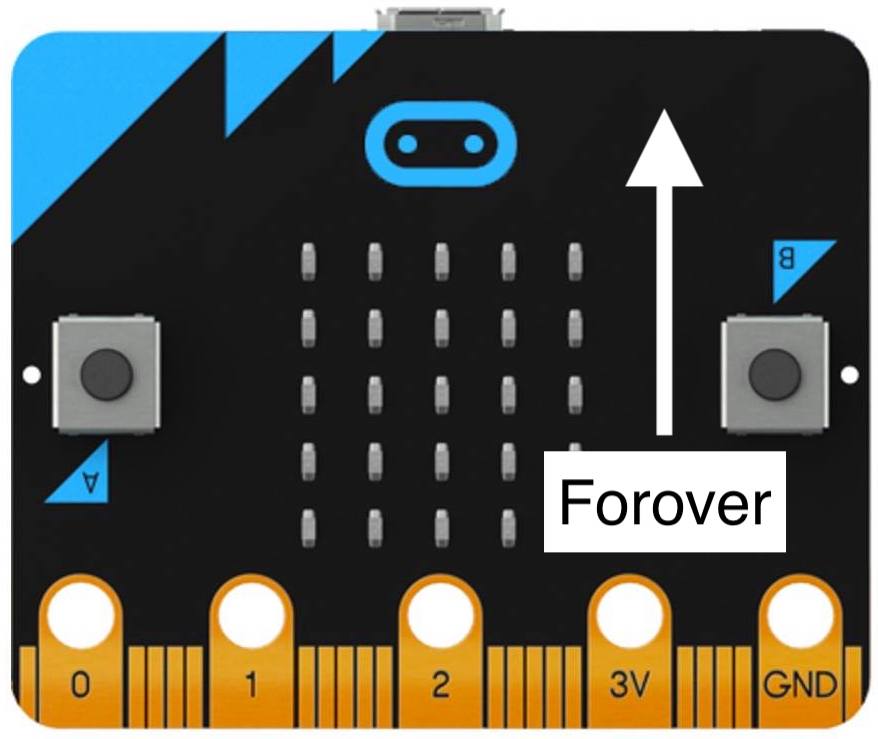
- Forward, the "regular" reader direction on Microbit corresponds to. In addition, white propellers will indicate forward, while black propellers will be at the back.
Flight
- Active the drone (reinforcement) by clicking A and B at the same time on the hand control. The propellers start to spin gently. You will see that the speed is affected by the movements of the hand control
- Click B a few times until the drone starts to climb gently
- Click A to reduce the collective speed of the engines
- Find the point where the drone just has enough throttle to stay some lunde at the same height. Then increase and slow down by A and B by what fits.
- Change the angle of the remote control to change the drone's angle. Turn the control the road you want the drone to fly.
- To land, click A until the drone is down on the ground then click A + B to turn off the engines again.
- Emergency Landing: If you lose control of the drone, you can shake the control (shake) to stope the engines.


Place you the same way as micro: Bit for best control while flying.
Remote Control / Display
Variables
The most important variables in the hand control are:

Forward and backwards. We get outinput.rotation(Rotation.pitch) from the Accelerometer, which gives us the angle.
- 0 degrees is neutral when control is horizontal
- From -1 to -45 the drone flies backwards
- From 1 to 45, the drone is flying forward

Almost the same as pitch, just that here is the direction right and left.
- Positive angle takes the drone to the right,
- Negative angle turns to the left.

This causes the drone to rotate sideways to the right or left. High numbers rotate faster. Maximum values are -90 to 90. 0 means no rotation. To use YAW, place the thumb between P0 and P1 to rotate to the left, and between P1 and P2 to rotate to the right. A weak, harmless current of 3 volts is guided through the skin from PIN 1 and measured in P0 and P2.
Throttle

Common engine power on all engines - increases or decreases the height. Stated as a percentage.
- When the value is 0%and arm is set to 1, the engines go on idle and the drone stays on the ground.
- To climb, Throttle must be above a given point, which is around 50-60%
- Between 0 and about 50 the drone will be lowered or staying on the ground
- About 50 will the drone stay at a steady height
- 100 is maximum speed.

Arm (reinforcement), or activation, is a safety barrier that is normally set to 0. For the drone to fly, this value must be 1.

Flight Mode: This should be set to 1 as standard.
- 0: Acro Mode, the drone can loop (experimental, tested, is not recommended at this time)
- 1: Stabilise mode (standard, drone stabilizes itself horizontal)
- 2: Navigation Mode (Self navigation) Functionality is scheduled
- 3: Calibration Mode: Useful feature that calibrates the drone's Accelometer.
![]()
Set this value to 1 to make a beeping sound from the drone's buzzer (speaker).
Remember to put it back to 0 again so that it does not beep constant. The buzzer is used to alert empty battery on the drone.


